Haunted House Ride
About
Project for my intro to graphics and animation class. Demonstrating learning in modeling, textures, lights, shadows, and rendering.
Modeled, animated, and rendered using: Autodesk Maya.
Video editing and assets using: Adobe After Effects, Adobe Photoshop, Adobe XD.
Table of Contents
Characters:
Options:
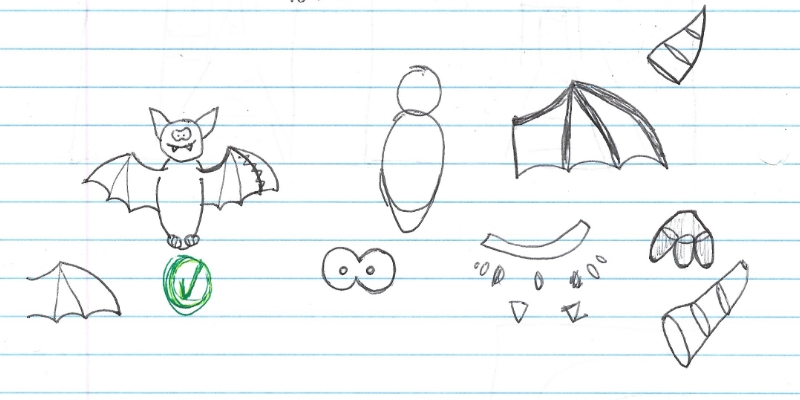
I planned to include 3 characters taking in consideration how long the ride takes, and to give time for each character to take its turn to appear. My characters’ list included a bat, a witch, a ghost, a mummy, and a phantom.
Final Selection:
I ended up selecting a bat, ghost, and phantom because each are revealed differently to the scene.
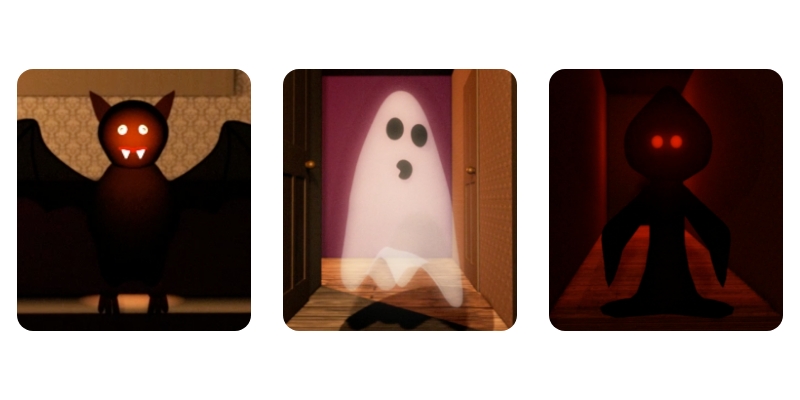
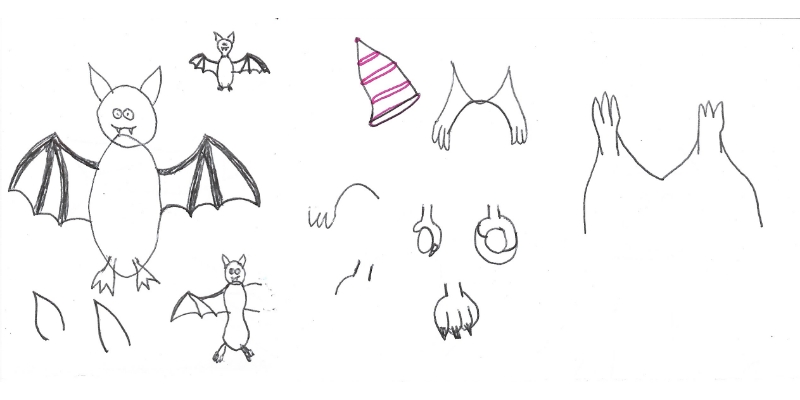
Bat:
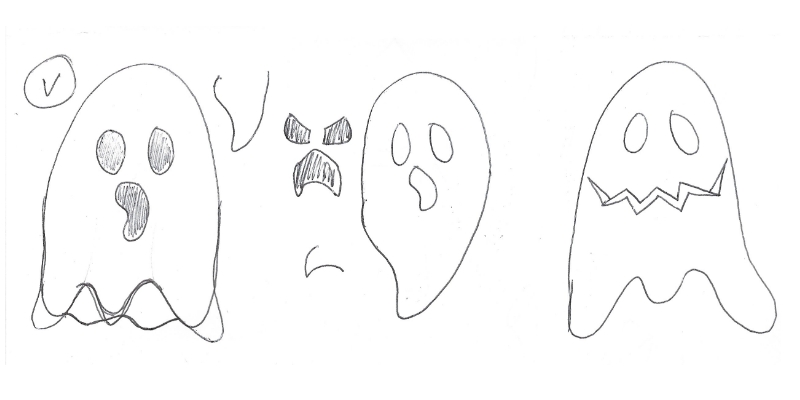
Ghost:
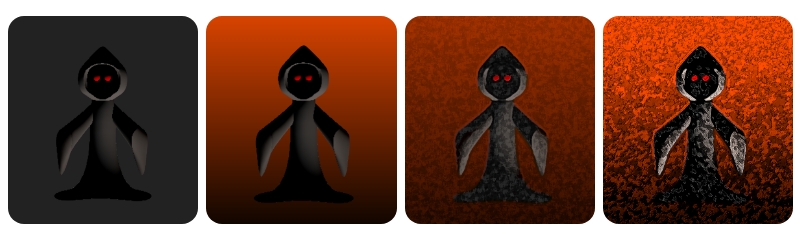
Phantom:

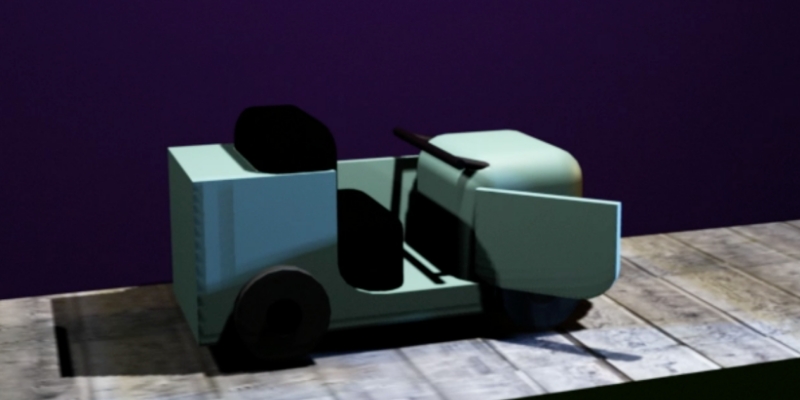
Car:

Portrait:
I took a screenshot of the 3D model, then added textures with photoshop.
Storyboards:
Version 1:
While the car goes around the house on rails, a witch appears and changes the route of the car by pulling the lever from “exit” to another path. Then the witch is substituted by a ghost because ghost are more associated with appearing rather than witches.

Version 2:
Another idea was having a hall of doors as the location where the ghost appears after a door opens and closes by itself. With this idea, I discarded the idea of the ghost changing the route of the car, and instead having it getting closer to the car to then disappear by going to the first floor.
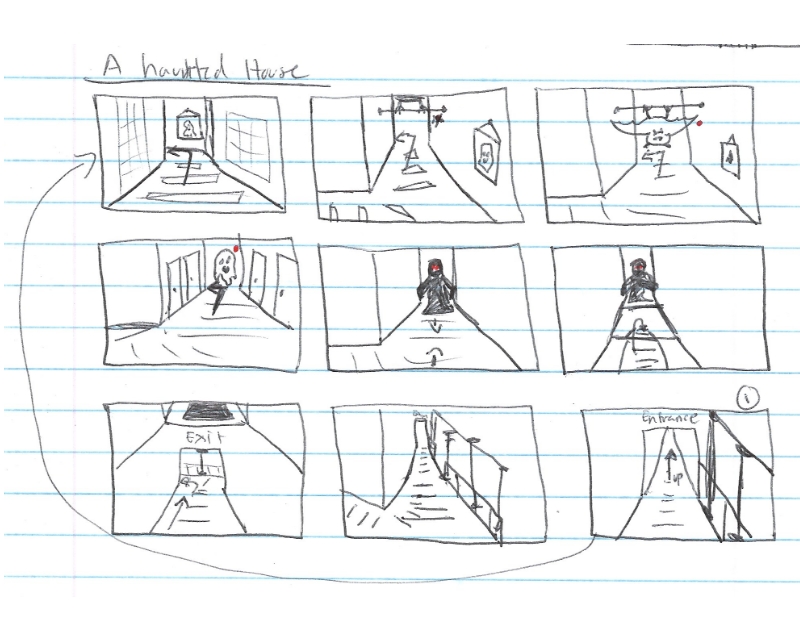
Version 3 (final version):
The final version includes the bat, ghost, and phantom as the 3 characters.

Visualizing the house:
To be able to visualize the house as a real one, I sketched the house from the outside (front view) and (top view).
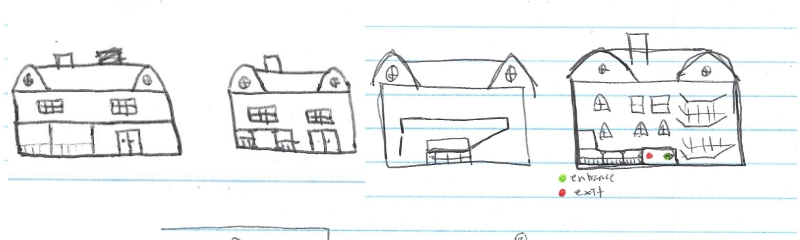
Planning the animation:
I sketched the path of the house (top view), the location of each character, door, window and portrait to then place all my 3D models in place and start animating.

Assets:
Family Font
Professor Minty Bold
Bold
Aa
A B C D E F G H I J K L M N O P Q R S T U V W X Y Z
a b c d e f g h i j k l m n o p q r s t u v w x y z
0 1 2 3 4 5 6 7 8 9
I used this family font for the intro and outro of the video.
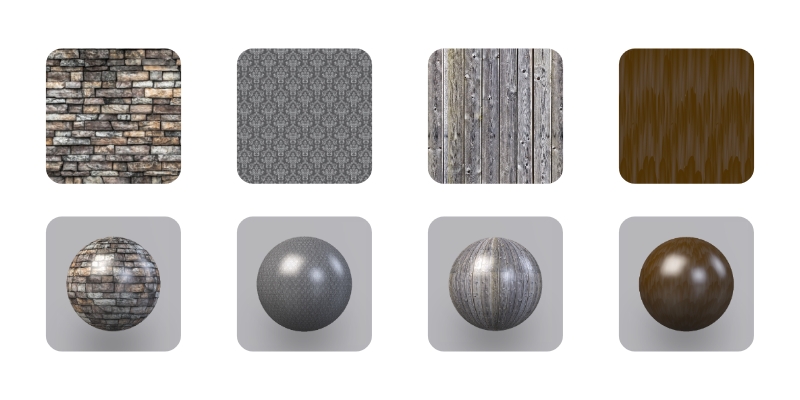
Textures:
I edited some images on photoshop and used them as textures for my 3D models.
Tools used:
Modeled, animated, and rendered using: Autodesk Maya.
Video editing and assets using: Adobe After Effects, Adobe Photoshop, Adobe XD.